GIMP like Photoshop
How to make GIMP look and work like Photoshop
There are two ways: install PhotoGIMP, which does everything at once, or change a dozen GIMP settings yourself. Both give you the same result on screen. What matters most, though, is not the look but the keyboard.
On this page 5 sections
Short answer
The fastest way
Install PhotoGIMP, a free set of GIMP settings that puts the tools in Photoshop’s order, arranges the panels like Photoshop’s and maps Photoshop’s shortcuts (V, B, Ctrl+J, Ctrl+T…). It takes a few minutes with our install guide. If you prefer to keep control, follow the manual steps below; each one is a normal GIMP setting.
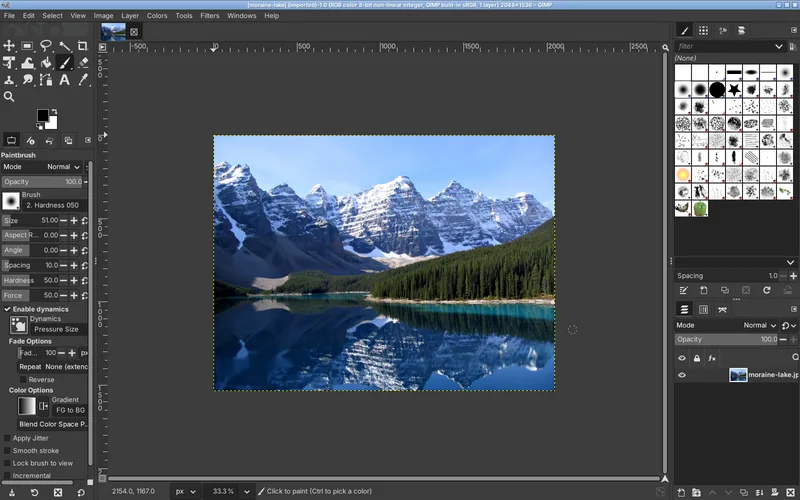
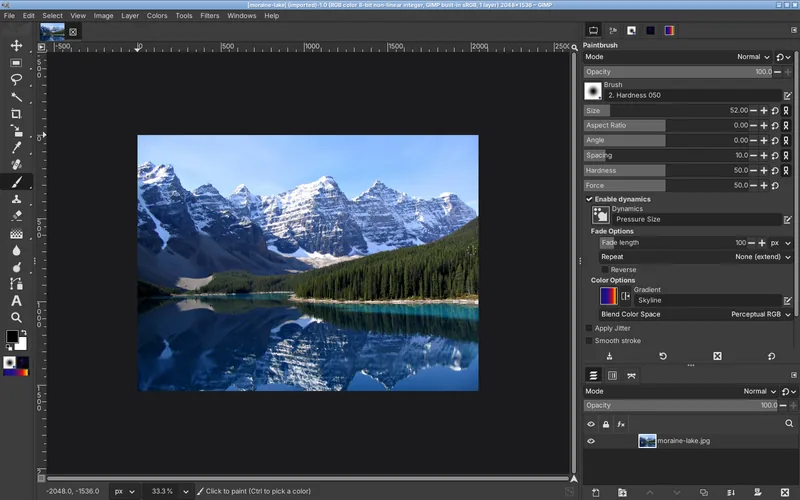
PhotoGIMP or by hand?
| Compared | PhotoGIMP | By hand |
|---|---|---|
| Time | 5 minutes | 20–40 minutes |
| Toolbox in Photoshop’s order | Yes (needs a fix on GIMP 3.2) | Yes, by dragging tools in Preferences |
| Photoshop shortcuts | 29 commands at once | One by one |
| Keeps your existing GIMP setup | No: replaces shortcuts, layout and some preferences | Yes |
| Window sizes fit your screen | Saved for a large monitor; may need a reset | Yes |
| Best for | Switching from Photoshop now | People who already customized GIMP |
By hand in GIMP 3.2
All menu names below are from GIMP 3.2.6. On macOS, GIMP 3.2.6 calls Edit → Preferences GIMP → Settings; the pages inside are the same.
Switch to a single window
Windows → Single-Window Mode. Images open as tabs in one window, like Photoshop documents. (It is already on in a fresh GIMP 3.2 profile; check that it is ticked.)Pick the dark theme
Edit → Preferences → Interface → Theme: theme “Default” with the dark color scheme is the default and closest to Photoshop’s dark grey. GIMP 3.2 also has a scheme that follows your system.Arrange the toolbox like Photoshop’s
Edit → Preferences → Interface → Toolbox. Drag tools into Photoshop’s order (Move, Marquee, Lasso, Magic Wand, Crop, Eyedropper, Healing, Brush, Clone Stamp, Eraser, Gradient, Blur, Dodge, Pen, Type, Zoom), hide the ones you do not use, and use tool groups so related tools share one slot. Then drag the toolbox’s right edge until it is one column wide.Make icons the size you like
Edit → Preferences → Interface → Icon Theme: choose the symbolic or color icons and, if they feel small, override the icon size.Dock the panels on the right
Open Windows → Dockable Dialogs → Tool Options, Layers, Channels, Paths and Brushes, and drag their tabs into the right-hand dock: Tool Options and Brushes on top, Layers, Channels and Paths below. That is the PhotoGIMP arrangement, close to Photoshop’s Properties and Layers panels.Use Photoshop’s shortcuts
Edit → Keyboard Shortcuts. Start with the keys you use most: V Move, B Paintbrush, E Eraser, M Rectangle Select, Ctrl+J Duplicate Layers, Ctrl+T Unified Transform, Ctrl+D Select None. The full mapping lists what to assign. Or copy only PhotoGIMP’sshortcutsrcinto your settings folder to get all of them without the rest.Darken the area around the image
View → Padding Color → choose a custom color and pick a dark grey (PhotoGIMP uses RGB 27, 27, 31). Hide the yellow layer outline with View → Show Layer Boundary.Let opened images have transparency
Edit → Preferences → Image Import & Export → tick “Add an alpha channel to imported images”. Erasing then makes pixels transparent, as on a Photoshop layer.Snap to the canvas edges
Edit → Preferences → Canvas Interaction → Snapping, or View → Snap to Canvas Edges, so moved layers snap to the edges like in Photoshop.Save the layout
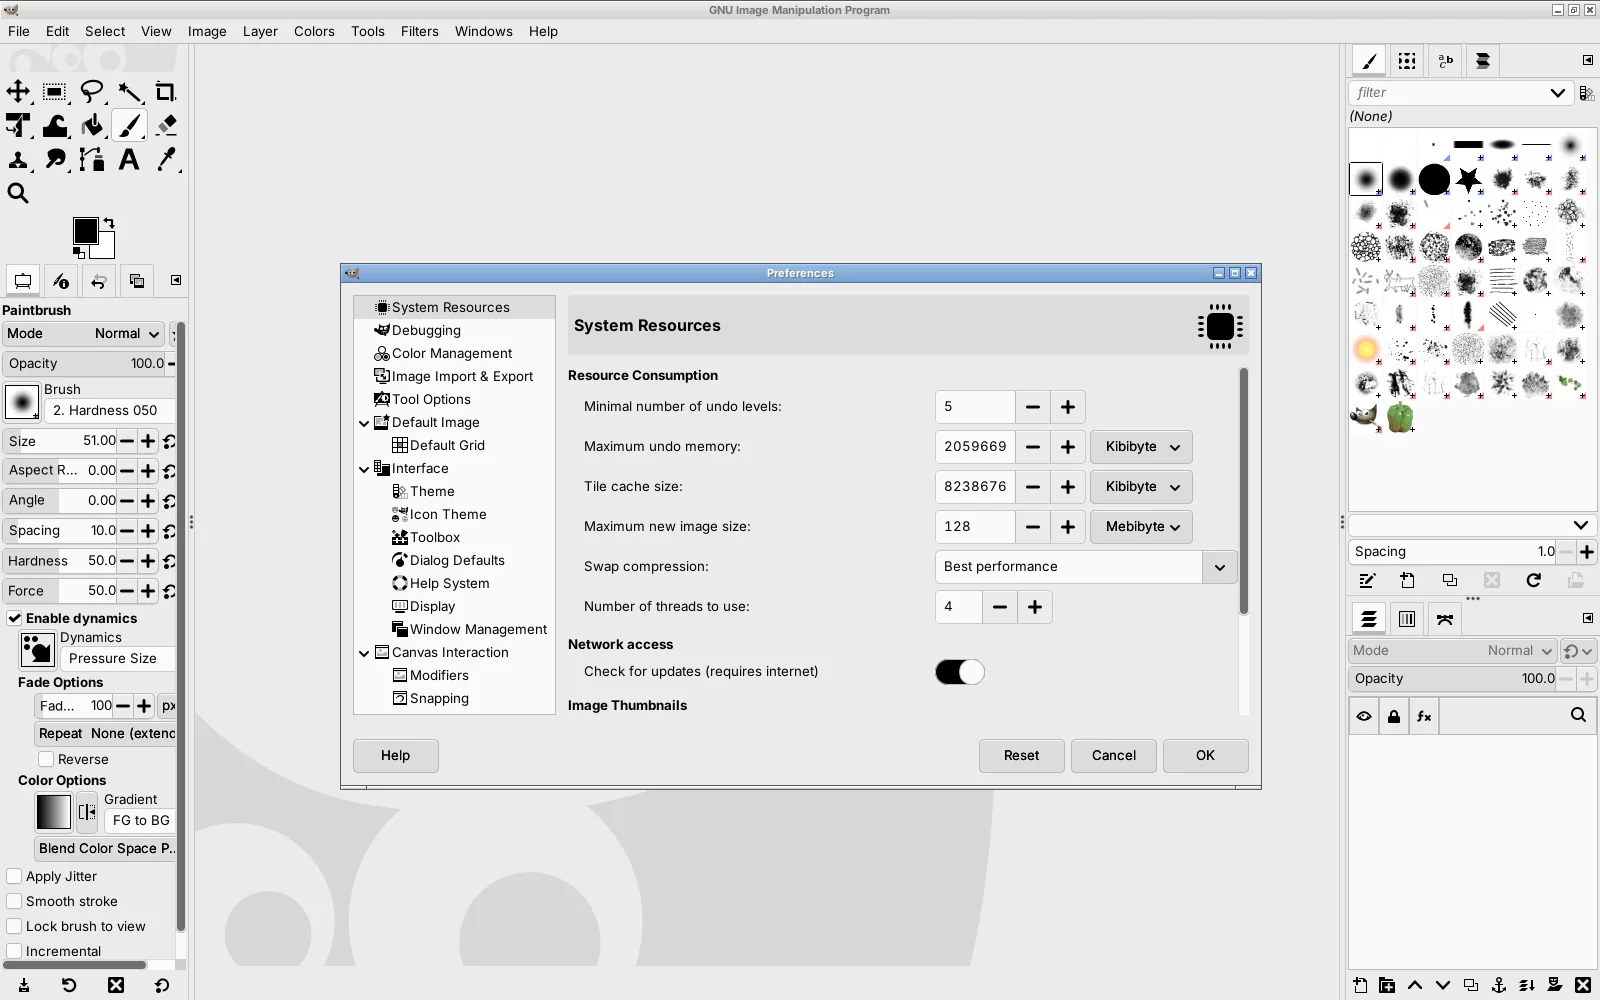
Edit → Preferences → Interface → Window Management → “Save Window Positions Now”, so GIMP opens the same way next time.
Only the parts you want
PhotoGIMP’s files work independently. From the zip’s 3.0 folder you can copy just one into your GIMP settings folder (close GIMP first):
shortcutsrc: only the Photoshop shortcuts.toolrc: only the toolbox order (on GIMP 3.2, apply the rename).sessionrc: only the window and dock layout.splashes/: only the splash screen.
What cannot be made like Photoshop
Settings change how GIMP looks and which keys do what. They do not change what GIMP can do:
- Menus keep GIMP’s structure: color adjustments are under Colors, not Image → Adjustments.
- No adjustment layers or layer styles in the Photoshop sense; GIMP 3 has non-destructive filters on layers instead.
- No content-aware fill or generative fill built in; the Resynthesizer plug-in covers some of it.
- Tools behave like GIMP’s tools. The Unified Transform tool on Ctrl+T is close to Free Transform, but not identical.
Our Photoshop to GIMP map goes through Photoshop’s features one by one and shows the closest GIMP 3.2 equivalent.
Questions
Can GIMP look exactly like Photoshop?
Is there a Photoshop theme for GIMP?
Does GIMP 3 have single-window mode?
Is there a GIMP Photoshop plugin?
Keep going
Found something wrong or out of date? Tell us: hello@photogimp.org. We fix mistakes within a day.